Twisted: Matron WIP
Demented Games zeigen auf Facebook den Entstehungsprozess einer neuen Miniatur.
STEP 1: Sculpting the Matron
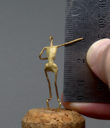
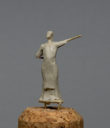
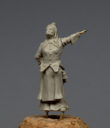
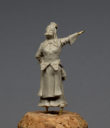
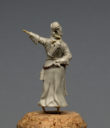
Now that we have the final Matron concept art, it’s time to get sculpting!Here’s the first part of the sculpting process. You can see I created a wire armature for the miniature, and bulked it out with some sand-yellow epoxy (Tamiya Quick Type).A thin layer of clay was then applied – I am using a 50:50 mix of Super Sculpey Firm and Sculpey Premo. I used a thin layer of sticky epoxy as ‚glue‘ to attach the clay to the armature.Once the first thin layer was applied and adhered, I start roughing out the general forms with more clay.Still very early days but it’s a start!Sebastian
STEP 2: Sculpting the Matron
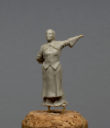
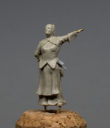
Now that the armature has been made and the basic clay layer applied, it’s time to start refining the forms and begin to outline the details for the matron!Something interesting compared to the previous WIP step is the head position: Twisted’s Peter thought her head angle should be tilted back a little more so she is really looking down her nose, so I have adjusted the head position here.You can also see here how I take a sort of ‚global‘ sculpting approach where I go through stages of refining the entire figure as a whole (rather than perfecting one section at a time).I’m using a clay mix Super Sculpey Firm mixed 5:50 with Sculpey Premo (colour ‚ecru‘.)Sebastian
Quelle: Twisted bei Facebook







Kommentare