Tutorial: Khorne Berserker
Wir sind im Netz über ein schickes Tutorial von Seb Lavigne gestolpert.
Hi everybody!
As it’s been quite a while since I promised to make a tutorial on the painting Bloodreavers for Age of Sigmar and it is the period of good resolutions for the new year, I finally stick to it!
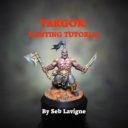
I have chosen as a subject the miniature of Targor from the game Shadespire because the very „2D“ sculpt seems perfect for a step-by-step from a photographic point of view.
I use here several paint range, so here is a glossary to find your way:
-GW = Citadel, from Games Workshop
-P3 = P3, from Privateer Press
-VMC = Vallejo Model Color
-VGC = Vallejo Games Color
-VPA = Vallejo Panzer Aces
-VN = Vallejo from the Nocturna Fantasy-Pro paint rangeHope that you’ll enjoy it and that you’ll find inspiration!
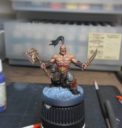
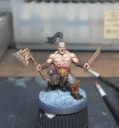
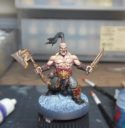
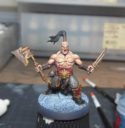
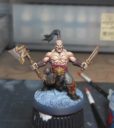
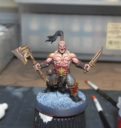
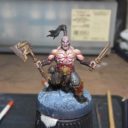
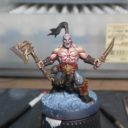
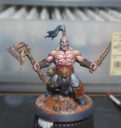
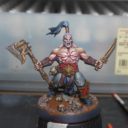
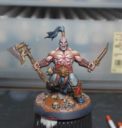
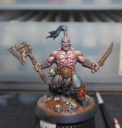
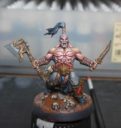
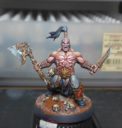
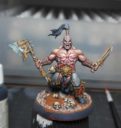
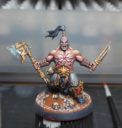
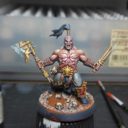
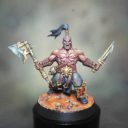
That’s the result we want to get!
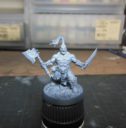
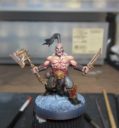
That’s what we have once the miniature is assembled…
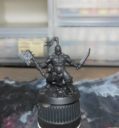
I start by airbrushing an undercoat with Black Acrylic-Polyurethane Surface Primer (Vallejo).
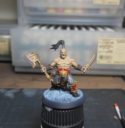
Above the black, I spray with the airbrush a surface primer USN Light Ghost Grey (Vallejo)
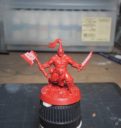
I apply all basic colors in several thin layers:
-Skin: Tan Earth VMC
-Pants: Skavenblight Dinge GW
-Gold: XV88 GW
-Red Armor: Mephiston Red GW
-Leather: Dark Rust VPA
-Boots/hair/loincloth: Black VMC
-Metal/strips/skull: Battlefield Brown P3
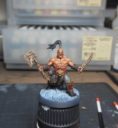
I quickly put a good layer of wash on the whole.
Reikland Fleshshade GW on the skin and Agrax Earthshade GW on everything else!
I redefined the musculature volumes with Tan Earth VMC
With several transparent layers of Sunny Skintone VMC I begin to accentuate the lights on the skin.
I exaggerate the strongest shadows with some Violet VMC glazes
I warm up the skin tone by applying very light glazes with Bloodtracker Brown P3 here and there
More highlights on the skin with Beige VMC
With very light glazes of Scarlet Red VGC I add some tones and give a little life to the flesh. I take the opportunity to tint scars, nose, lower lip, tongue, …
I paint the eyes and I draw the eyebrows with black. I don’t remember why I had a bit of Stegadon Scalegreen GW on my palette at the time, but I took the opportunity to mix it with a bit of black and beige and simulate hair and a shaved beard by applying it in a few inconspicuous glazes
With a very fine brush and white, I paint the whites of the eyes and the teeth
I finally achieve the skin with some lights of Ivory VMC.
I redefined the pants with Skavenblight Dinge GW
I apply a first highlight on the pants with a mix of Skavenblight Dinge GW and Highlight Japan Tank Crew VPA
Ultimate light on the pants with Highlight Japan Tank Crew VPA
I start to lighten the black areas (hair, boots and loincloth) with a mixture of black and Meredius Blue P3.
At the same time, the base is painted with Bloodtracker Brown P3
From now, I will work on several areas in parallel. Normally I completely finish one area before moving on to the next, but it will avoid ending with a 80 photos tutorial…
So:
-The skulls on the base were painted in Battlefield Brown P3 and received a wash of Agrax Earthshade GW
-I finished the black areas by adding more or less Basic Skintone VMC in my previous mix.
-The leather has been redefined with Dark Rust VPA
-The strips have been redefined with Leather Belt VPA
-All the skulls have been highlighted with US Field Drab VMC
-The red has been redefined with Mephiston Red GW
-The rocks on the base were painted in Cryx Bane Highlight P3
-The leather is highlighted with slightly coarse Burned Flesh VN stains to simulate crackled leather.
-In the same way, the strips are highlighted with Bloodtracker Brown P3
-The red is highlighted with Khador Red Base P3
Skulls receive a light of Tan Yellow VMC
By stippling, I still clear the leather with Red Leather VMC and the strips with Orange Brown VMC.
Red is highlighted again with Khador Red Highlight P3
I achieve my crackled leather effect with Sunny Skintone VMC on the leather and Beige VMC on the strips.
The skulls are done with a few touches of Beige PA and the red with Light Yellow VMC
For metal, I start by lightening with very coarse brushstrokes. I use a mix of Battlefield Brown P3 and Meredius Blue P3 on the blades, and Battlefield Brown and Underbelly Blue P3 on everything else.
I continue by throwing brushstrokes on the metal with Highlight Italian Tank Crew VPA (it’s a kind of pale green). I sometimes apply the color more diluted where I want the brightening to be more subtle.
I redefined gold with XV88 GW
Rocks on the base received an highlight with Menoth White Base P3
First highlight on the gold with Tau Light Ochre GW
I intensify a little the color of the gold by applying some glaze of Heartfire P3 in some places.
Gold is highlighted again on the edges with Light Yellow VMC
I finish the figurine with some touches of ivory PA on metal and gold (which is also a metal, anyway …).
The base feels a good layer of dried pigments Siena Calcinée and Siena Naturelle (that I fix by mixing them with a little water).
I paint the edge of the base in black.That’s it and there is nothing to do but varnish!
Wir bedanken uns sehr herzlich bei Seb für die Erlaubnis das Tutorial hier zu teilen, und wenn ihr mal bei ihm auf der Facebook-Seite vorbeischauen wollt (es lohnt sich!): Hier gehts lang!
Quelle: Dark Iron Studio



Die Haut sieht aber ganz ganz komisch aus… ansonsten tolle Figur!
*lach* da seh ich mal wieder meinen skill-level: ich hör nach 5 von 29 schritten auf 🙂
Dito. Und es reicht auch meiner Meinung nach. Das hier ist natürlich die absolute Profi-Bemalung, wo man ab einem gewissen Punkt eh kaum einen Unterschied mehr erkennt.
Ja, mir ist auch die Kinnlade runtergeknallt… jetzt weiß ich zumindest, warum meine Minnis immer so… bescheiden aussehen…
Der absolute Wahnsinn.
@BK
Toller Beitrag – danke.
ich werde danach mal den einen oder anderen Schritt meiner ToDo-Liste hinzufügen.
Ja, ich höre auch nach 5 Schritten auf. Mir gefällt der hier gezeigte hautton aber. Die khorne Jungs aus shadespire stehen auch gerade auf meinem maltisch. Obwohl ich das Design zu Power metal mäßig finde, muss ich zugeben, dass sie super modelliert sind. Das Anmalen macht wirklich Spaß.
Jupp, Schritt 5 reicht mir auch zum spielen. Allerdings liegt Malen bei mir auch auf dem letzten Platz hinter Spielen und Zusammenbau.
Tolles Tutorial. Danke fürs Zeigen. Echt cool zu sehen, warum wirklich jeder weitere Schritt einen Gewinn beim Aussehen bringt. Könnte mich selbst aber auch eher nicht dazu motivieren 🙂
Die Farbigkeit liegt mir sehr.
Danke das ihr das nochmal geteilt habt. Sehr super und: die neue Mal-Ratingskala für „Wann höre ich auf zu malen“: 6/29 [DI-S]
Krass! Ich sag mal so, 15—20 hab ich noch bei keinem Modell erreicht, aber man malt ja selten nur 1 Modell an. Wichtig ist immer es sieht gut aus und man ist selbst damit zufrieden. Das erinnert mich daran bei meinen Blight-Hauler heute noch die letzten Farbstriche zu machen 😊
Ein wirklich sehr schönes Turtorial. Das muss ich mal ausprobieren. Auch wenn mir der Kontrast der Haut schon etwas zu stark ist.